This tutorial explains how to make short hair braids look fuller, create side ponytails, and secure a braided bun. In addition, you will learn how to do waterfall braids. The tutorial is perfect for anyone who doesn’t have the time or desire to spend hours in the salon.
How to Add Volume to Short Hair Braids
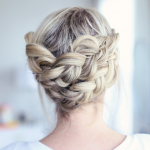
Short hair braids can look beautiful and stylish with the right tools and technique. The main thing to keep in mind is that you should start at the midshaft and braid hair away from the scalp. This will give your braids extra volume. Then, secure the ends with an elastic band.
Short hair is tricky to braid, as it tends to stick out at odd angles. However, short hair braids can be a fun and informal style. Even so, these braids aren’t going to look as polished as those done on long hair. Some people choose to braid hair while it is still wet, but this can be damaging. Wet hair is 15 times heavier than dry hair and is more prone to breakage.
Another option for styling short hair braids is to use different types of braids. You can also use different colors and styles. You can also combine different small braids to make a big braid. If you have a short hair, try using two or three braids to get a big braid.
Before braiding your hair, use dry shampoo or volumizing spray to make your hair look fuller. Then, make sure to have all your supplies handy so you can reach them when braiding. To start braiding, use a comb to comb your hair from front to back, making sure to comb along the scalp from the middle part to the back. You can also use an alligator clip to hold each section apart while braiding.
How to Create a Side Ponytail
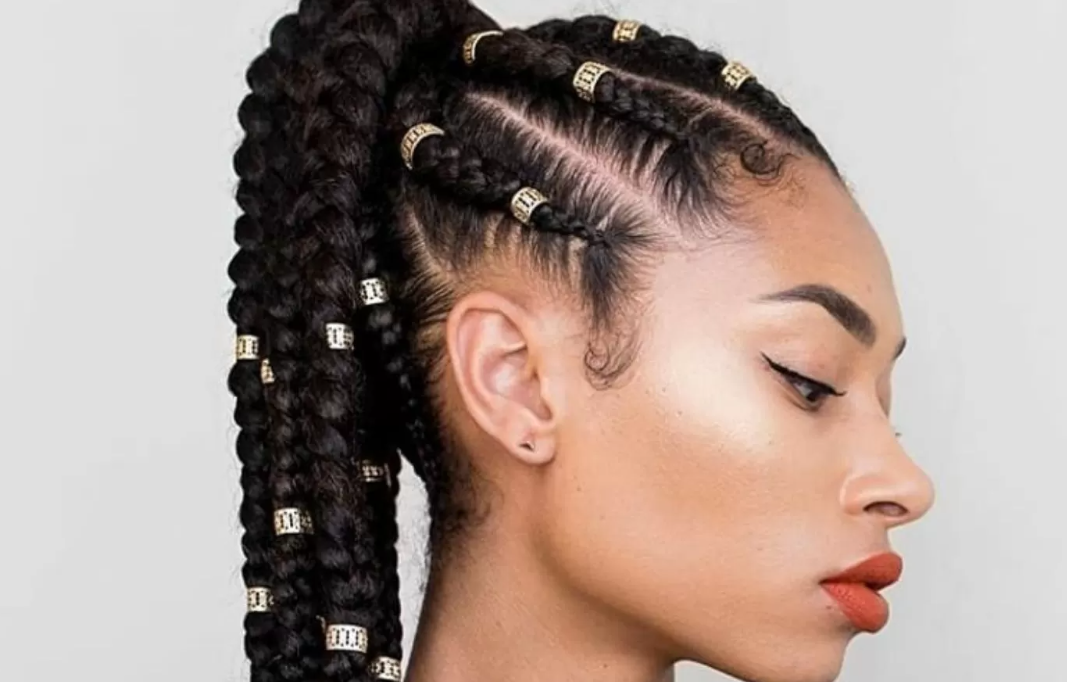
There are many ways to style your short hair. One popular option is a side ponytail. A side ponytail can be simple or complex. It can have a twisted front and soft waves, and you can even do a fishtail braid. This hairstyle can be very elaborate, and takes a little more commitment. It requires a little bit of back-combing, teasing, and twisting.
The first step in creating a side ponytail with short hair is to divide the hair on the top to create a partition. Then, back-comb the hair towards the nape. Then, secure the sides with bobby pins. This step helps the ponytail look finished.
Side ponytails are incredibly versatile and can be formal or casual depending on the style you choose. They flatter any face shape and are a great wedding hairstyle, too! A side ponytail can be wavy or twisted, depending on how long your hair is.
If you want a romantic look, you can add a braided crown or French braids to your ponytail. These hairstyles can make you look incredibly feminine and classy. You can also use hair accessories like flowers or combs to add a little extra flare to your side ponytail.
How to Secure a Braided Bun
A braided bun can be a beautiful addition to your outfit, but you need to know how to secure it properly. The following tips will help you keep your braided bun secure. First, you need to use an elastic band to create a low ponytail. You can also use a bun donut or bun sock to create a stylish shape.
After you secure your hair with elastic, wrap the braid around your head. Secure the ends of the braid with a hairpin. Once the braid is secured, take a hairpin and weave it through multiple layers of hair. Alternatively, you can slide a hair stick through the bun to secure it in place.
Short hair can also be styled with braids. They are easier to style than unbraided hair and are perfect for creating a high bun. The braids should be evenly distributed over your head and cross into a bun at the top of your head. Once you’re done, use a hairspray to prevent your braids from falling.
Once you’ve secured the bun, you can decorate it with your favorite hair accessories. You can add some colorful hair extensions to give your bun a little flare. Remember that braided buns are easy to create, and the best part is that they’re quick and easy to do.
How to Achieve Waterfall Braids
If you have short hair, you can still learn how to achieve waterfall braids. First, divide your hair into three sections. Starting from the top, cross a section near the top of your head over the middle section. Next, cross a section near the bottom over the middle section. Finally, create a new section on top of this.
If you’re planning to wear a waterfall braid for a special event, you’ll need to prepare your hair beforehand. You may want to use a leave-in conditioner on damp hair to smooth it out. A deep side part will make the braiding process easier. A side part also adds a nice touch to the waterfall braid, making it look even more dramatic.
Next, you’ll want to determine whether your hair is short enough to pull off a waterfall braid. A waterfall braid is best for short hair, but it can also be done on the entire head. You’ll need a section of hair that’s a little longer than your head’s natural length, which should be at least shoulder-length.
When done correctly, waterfall braids will look fabulous and can elevate an everyday look into an elegant and glam one. Depending on your hair texture and length, the waterfall braid can be used on short, medium, or extra-long locks. There are no limits to how much experimentation you’ll have with this hairstyle, so it’s important to give it a try!
Next, braid the middle section of your hair, taking care to keep your bangs out of the braid. Once you’ve completed this section of hair, divide it into three equal sections. You’ll now braid the remaining hair into a standard braid, making sure to point downward and toward your ear.
A double waterfall braid is an advanced braiding style that requires more practice. It looks complicated and requires a little more time, but it is worth the effort! It can save you money and time from going to the salon often. Straight strands may look polished, but they lack texture. The small braids in this style will add this much-needed texture.