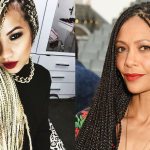
There are several basic braiding methods. These include a French braid, Bantu knot, and Pull-through braid. The first step is to grab a small section of hair held in your right hand using your left index finger and thumb. This section will become your middle section. Now, use the other hand to hold the back section of your hair.
French Braid
To begin the French braid, you’ll need to section your hair into three equal sections. Make the left section longer than the middle section. Then, cross the right section over the left, and so on. The three sections should be about the same thickness, so they’ll overlap easily. Next, braid the three sections together.
To begin, section off your top layer into three sections. Next, cross one side strand over the other, adding new sections to the braid. Repeat these steps until you reach the middle. Once you reach the end of the braid, tie the hair up with a hair band or wrap it around the base and secure with bobby pins.
While a French braid may seem complicated, it’s actually very easy to learn. You just need to spend some time practicing. Thankfully, there are tutorials available on the Internet that teach you step-by-step how to do a French braid. You can choose between written or video instructions.
The first step is to take a 2 inch wide section from your front hairline. Ideally, you’ll want to braid the left side. Make the sections equal in size and thickness. If you’re not confident, you can use a rattail comb to help you make more precise sections.
Bantu Knot
When you learn how to braid Bantu knots, it will help you create a fashionable hairstyle. Bantu knots look great with natural hair. For the best results, wash your hair with a natural hair shampoo and conditioner. After washing, apply a leave-in conditioner to soften and condition your hair. If the ends do not stay in place, use bobby pins to secure them. You can also create Bantu knots individually by braiding hair.
First, part your hair with a rattail comb. Small sections are best if your hair is short, but larger sections are fine if it’s longer. Next, apply gel or cream hairstyler to your hair. You can also use rubber bands to keep your Bantu knots in place. You can also use oil-dipped rubber bands to reduce friction and snagging.
You can wear your Bantu knots in different styles. You can wear them casually or dress them up. For a more glamorous look, you can twist them out. Twisting them out creates a stunning curly pattern. This type of hairstyle will add interesting textures and highlight your features.
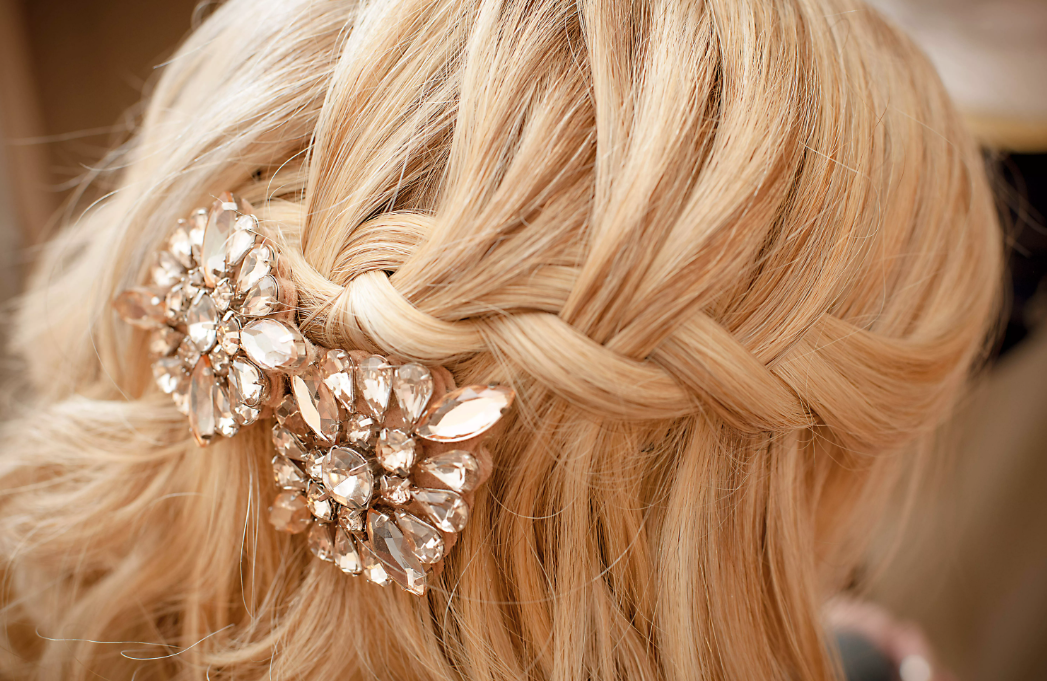
Unlike other types of braiding, Bantu knots are typically created by twisting two strands of hair. If you don’t have natural hair, you can also braid your hair with colored hair and then wrap the braids around each other to form a knot. A Bantu knot can be secured using small rubber bands or bobby pins. You can also add a bit of hair jewelry to the ends to turn your hairstyle into a fashion statement.
Pull-Through Braid
Pull-through braiding is a style you can use to create a different look. This hairstyle is similar to a traditional braid, but is much easier to achieve. It is created by wrapping two ponytails around each other. First, you split the first ponytail, then bring the second through the middle.
This style is great for adding volume to your hair without the difficulty of doing it in a traditional braid. You will need a large clip and clear elastic bands. This braiding technique uses all of the hair, which results in a chunkier look. This style is easy to perform, but requires careful attention to detail.
French Braid With Slipper Hair
The first step to creating a French braid with slipper hair is to separate the hair into sections. Always keep two sections in your right hand and one in your left. Think of these sections as being right, center, and left. Next, make sure to cross the right section over the center section. Repeat this process with the left section.
If your hair is very slippery, you may need to add texturizing spray or hair powder to help it hold. You can also use a smoothing cream to reduce frizz. Another tip to dress up the French braid is to curl your hair. This will add volume and fullness to your braid.
To add the third section to your braid, start by gathering the hair from your left side. Then, cross the larger section over the middle section. Remember to make these sections roughly equal so the braid doesn’t look lopsided. You may also want to use slightly dirty hair, as this will add less “slip.”
French Braid With Lace Braid
If you want to create a lace braid, you should start by dividing a section of your hair into two pieces. The smaller the section, the thicker the braid will be. Typically, you should choose a section an inch thick. Begin by braiding the right strand of hair into the center, then braiding the left strand into the center. After completing the braid, make sure to check your work in the mirror to make sure everything is positioned correctly.
If you have fine straight hair, tease it first to add volume at the roots. Once you are done, push the hair down and secure it with a bobby pin. You can also use hair extensions to add thickness to the braid. These hair extensions will also provide you with a natural looking braid.
Once the first part is completed, you can move on to the next section of hair. The next step is to continue the French braid with the lace braid. Start at the hairline and continue around the forehead to the left ear. Once you are halfway through the braid, you can begin braiding your hair into a regular braid. Then tie off the braid with a hair band or wrap the braid around your head to form a bun.
A French braid with lace strands is a very chic hairstyle. This hairstyle has a simple technique, but you must practice to perfect it. It is easy to do, and the finished product looks chic and polished.
Pull-Through Braid With Lace Braid
A pull-through braid is a stylish way to add volume to a classic ponytail. It is made by using several small ponytails, and looks incredibly sophisticated. To make it, make sure your hair is long enough. You can use a clear elastic band to secure the ends of the braid. Once you’ve secured the ends of the ponytails, start twisting your hair from the sides. Secure them with bobby pins in the center. Bring the lower section of the braid around the secure hair tie of the first segment.
You can spice up this braid by adding pigtails or single plaits. You can also accessorize it with a patterned scarf or hair band. Another variation involves inverting the braid by bringing the lower ends behind the central strand. The inverted version is also a good choice for concealing hair bands.