In order to create the perfect holiday hairstyle, you can use a few simple hair products. For instance, you can use bobby pins to create a temporary ponytail. You can also use hair clips and flowers to accent your new look. And, once your hair is dry and styled, you can finish off with a spray of hairspray. Each of these styles takes only ten minutes or less.
Black Velvet Headband With Holiday Hairstyle
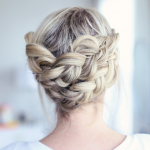
A black velvet headband with holiday hairstyle will spruce up your hairstyle and add a bit of volume. It will also keep it in place, so you won’t have to worry about your hair falling out. Try crisscrossing two low braids from the nape of your neck to the top of your head. Add some pearl hair accessories for extra holiday magic. These holiday accessories will have you looking like the most beautiful holiday guests at your party.
If you want an ultra-glam look, try wearing a ’90s-inspired accordian headband with your holiday hairstyle. The ’90s hair accessories have been popular for years, so why not incorporate one into your look this season? Whether you’re going to a holiday party or a date night, there’s a headband to fit your taste. You’ll be the talk of the town as long as you can pull off the ’90s hair accessory.
If you’d rather wear a headband than a ponytail, you can wear one with a protective style. This protective style looks very elegant, yet is surprisingly simple to do. To get it, part your hair and twist it so that the sides are pinned away from your face. You can then tie a ribbon headband to your hair and secure it with hairspray. You’re ready to enjoy your holiday festivities!
Creating a Temporary Ponytail With Bobby Pins
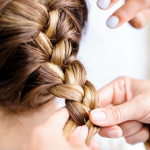
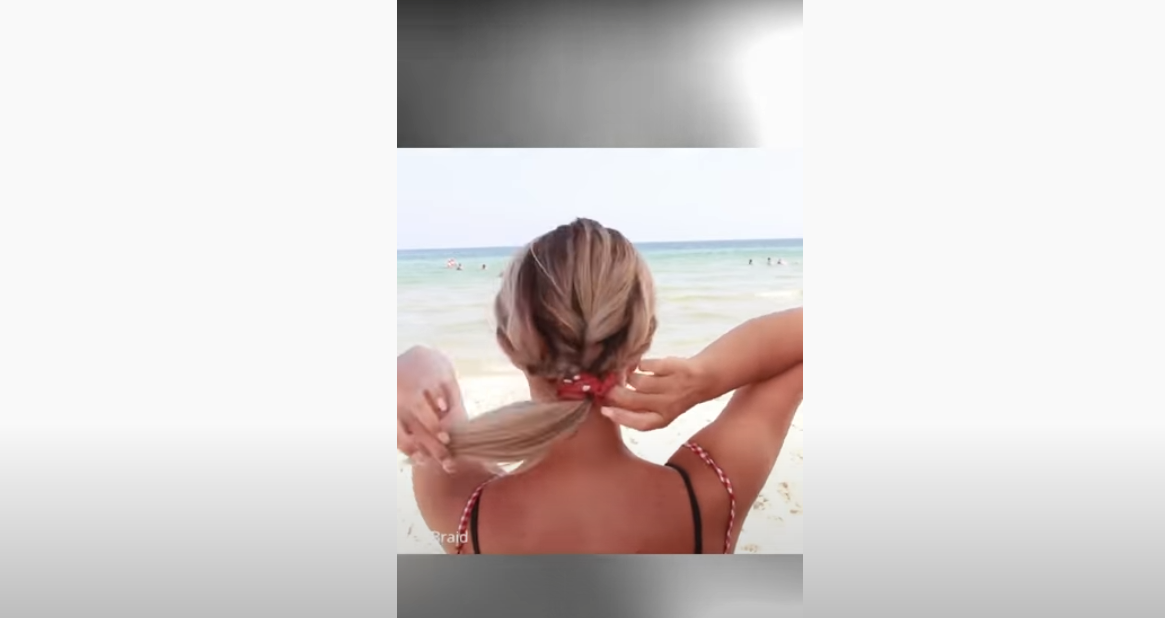
When you want to create a temporary ponytail but don’t have time to put your hair up in a permanent ponytail, you can use bobby pins to secure your hair. These small pins are placed through your ponytail, making your hair look fuller and more defined. The bobby pins can be brushed and fluffed to style your hair as you desire.
For a more sophisticated look, you can try adding bubbles to your ponytail. To create bubbles, you can use a rattail comb. When creating the bubbles, make sure that they are the same size and spaced evenly throughout the ponytail. Be sure to use a small comb to create the bubbles. For a more unique look, add a bead to each bubble to give your hair a pop.
Creating a Zig-Zag Part From the Forehead to the Crown
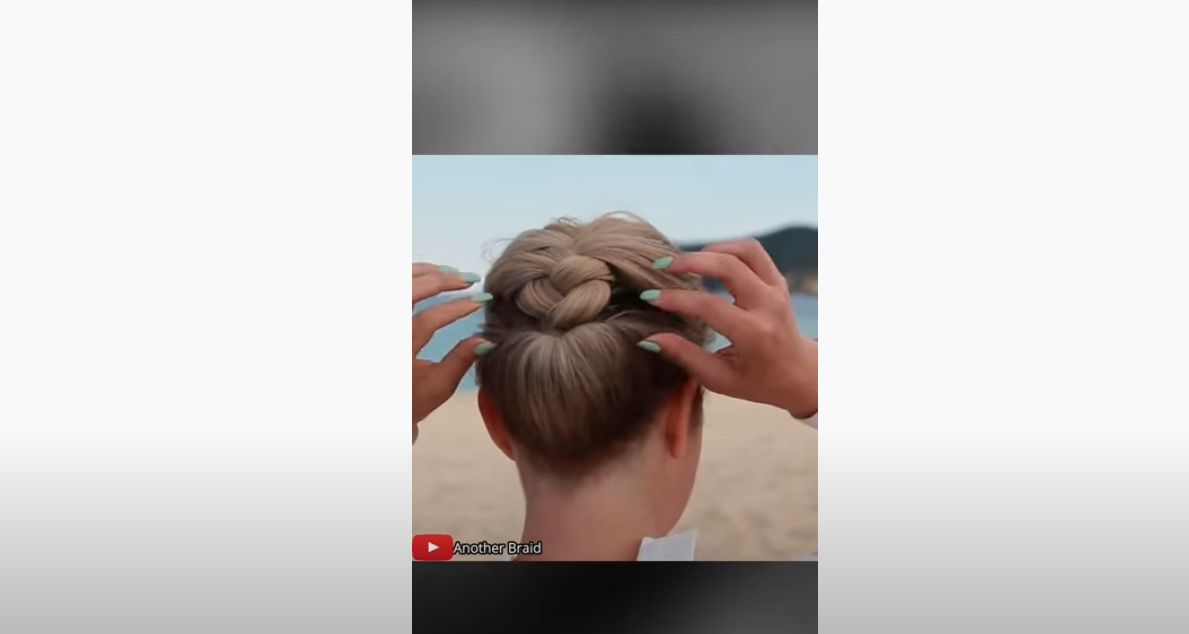
A zig-zag part is a great way to add visual interest to your hairstyle. It’s an easy way to add volume to thin, listless hair. You can make the part longer or shorter depending on your style. Try starting at the hairline on top of the forehead and going down to the crown of your head. After you’ve created your zig-zag part, you can braid your hair into a messy bun or make it into pigtails.
To create a zig-zag part from your forehead to your crown, start by brushing the hair well. Then, use a zig-zag comb or a tail comb to part the hair from the crown to the side. Make sure to leave some space between the zig-zag part and the hairline. A tail comb is helpful here because it can easily separate tangled tresses.
A zig-zag part can be very easy to create if you are a beginner. If you have straight hair, you can use a round brush and flip the ends up. Next, create a side-part and use bobby pins to create a zig-zag part. You can add a creative touch by tying elastics on the top strand and pulling them through the bottom strand.
A zig-zag braid does not necessarily have to go from front to back. It can also be used to create a ponytail. You can braid the sides and back of the hair and the back of your head. You can also add synthetic hair for fullness. Adding hair from the side to the back can give your ponytail an extra-long, thick look.
Creating a Zig-Zag Part With Bobby Pins
This easy DIY holiday hairstyle is perfect for special events! This festive hairstyle has a zig-zag part that’s easily accessed from any place on the head. For security, use multiple bobby pins. Red and black colors look fabulous with this zig-zag style! To learn more, see the tutorial below. This style requires very little styling skills, and only takes a few minutes to achieve!
First, start by getting a straight comb and applying a shine-boosting serum to your hair. You can also use a round brush to flip your hair up. Next, use a bobby pin to create a zig-zag part. Make sure the zig-zag part leads to the updo. You can also add some hair accessories to give your look a little more pizzazz!
Another easy DIY holiday hairstyle involves making sections of hair and alternating the left and right sides. The zig-zag part is easy to achieve and looks great on kids or adults who want to try something new. The best time to do this style is when your hair is damp as it’s easier to work with. Moist hair also helps separate the sections more easily. And the sleeker the hair is, the better!